How to Choose a Water Label Machine?
Choosing a Water Label Machine is not just a matter of comparing prices or counting bottles per minute. The right machine must match your container shape, label material, production volume, and available floor space. A small line labeling round bottles may need a different setup from one handling square containers or several bottle sizes. Watch a sample run closely: Does each label sit straight? Does it wrinkle near the seam? Can operators reach the controls without stepping around hoses or guards?
A useful selection principle is: “[Insert a verified quotation from the named Water Label Machine industry expert].” Expert name: [Insert verified expert’s full name and role]. Verify both the wording and attribution before publication; an invented quotation can weaken an otherwise practical buying guide. The advice itself is simple: judge the machine on your real containers and labels, not only on a supplier’s demonstration reel.
This guide will help you compare labeling types, speed claims, changeover time, adjustment needs, and service support. Ask suppliers to test your actual bottle and label stock. Bring more than one sample. A glossy label can behave differently from a matte one, even on the same bottle. Also consider the details that are easy to overlook: cleaning access, operator training, spare-part availability, and space around the conveyor. One limitation matters: no single Water Label Machine suits every production line. The best choice is the one that delivers repeatable placement under your working conditions, with settings your team can manage confidently.
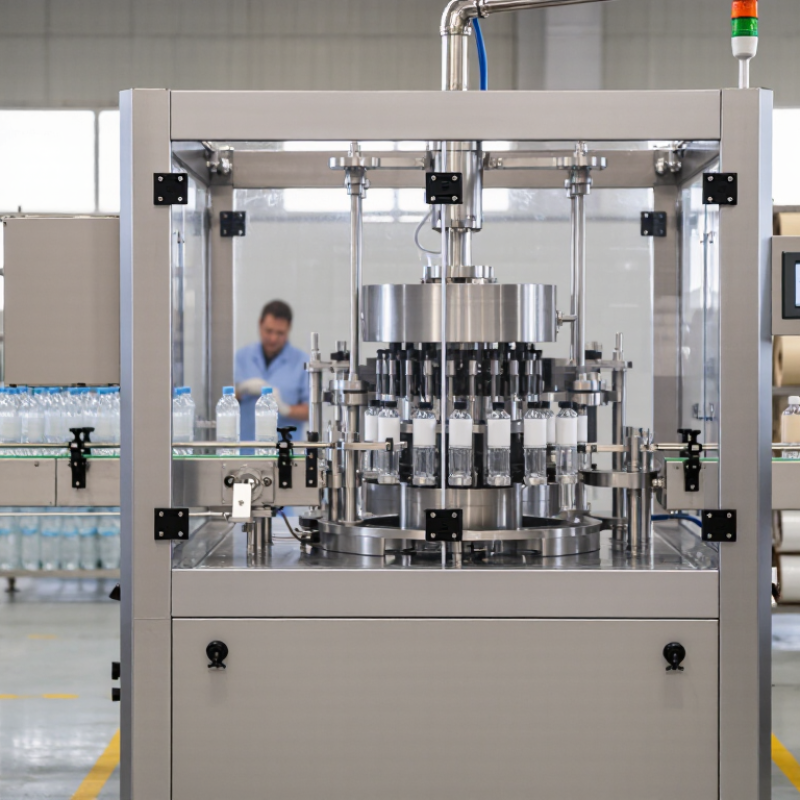
Identify Bottle Size, Shape, Label Material, and Application Method
How to Choose a Water Label Machine?
Start with the bottle, not the machine. Measure its height, diameter, and usable label area, then check whether the body is straight, tapered, or curved near the shoulder. A label that fits a straight bottle may wrinkle on a narrow-necked shape. Note the smallest and largest containers in your production run. Small differences matter. If possible, test actual filled bottles, since their weight and handling can affect feeding and alignment.
Next, match the machine to the label material and application method. Paper, film, and clear labels can behave differently on a roll, so confirm the machine supports the label’s width, gap, and roll direction. Water bottles may develop condensation; check that the adhesive suits the surface and expected conditions. For straight-sided bottles, a wraparound applicator may work well. Tapered or unusually shaped containers may need adjustable guides or a different setup. Run a short trial at realistic line speed and inspect for bubbles, skew, and loose edges. A perfect test on a dry sample proves little. The right choice depends on the whole process, and one detail is easy to miss: how often bottle sizes change.
How to Choose a Water Label Machine? — Identify Bottle Size, Shape, Label Material, and Application Method
Common nominal water-bottle capacities include 330, 500, 1,000, 1,500, and 2,000 mL. These examples are not a measure of market share. Before choosing a machine, check each bottle’s actual height, diameter, and shape, then confirm that the label material and application method suit the container and production line.
Calculate Required Throughput in Bottles per Minute (BPM)
To size a water label machine, start with bottles required per shift, not the machine’s advertised maximum speed. Divide the required quantity by actual labeling minutes.
For example, 18,000 bottles over 420 minutes requires 43 BPM. Add a practical buffer for brief stops and speed variation: at 15%, the target becomes about 50 BPM. Leave room.
Use net production time, excluding breaks, cleaning, and planned changeovers; otherwise, the calculation looks precise but understates demand.
Check the whole line, too. A 50-BPM labeler cannot maintain output if the filler, conveyor, or case packer regularly runs slower. Vorne’s OEE Industry Benchmark describes 85% OEE as a world-class reference, not a guaranteed operating rate.
As a rough planning check, a machine rated at 60 BPM running at 85% effectiveness yields about 51 BPM.
Actual performance can differ with bottle shape, label material, and adjustment time. Ask suppliers to demonstrate your bottle and label at the required sustained speed, then record jams and changeover duration. I would still question any calculation that assumes every shift runs identically; production records often tell a less tidy story.
Compare Roll-Fed, Pressure-Sensitive, and Shrink-Sleeve Systems
How to Choose a Water Label Machine?
Compare Roll-Fed, Pressure-Sensitive, and Shrink-Sleeve Systems
Choosing a water label machine starts with the bottle, not the machine. Check its shape, surface moisture, line speed, and desired appearance after chilling. A straight-sided bottle behaves differently from a contoured one. Small details matter.
Roll-fed systems apply labels from a continuous reel, often using heat or adhesive. They can suit high-volume lines, but changeovers and label alignment need careful control. A label drifting a few millimeters can look obvious across a full pallet. Pressure-sensitive systems use pre-coated labels on a liner. They handle varied bottle shapes and short runs well, though label and liner costs can add up. Test the adhesive on cold, damp bottles before committing.
Shrink sleeves cover complex curves and offer broad decoration, but require a heat or steam tunnel and accurate placement. Check for wrinkles near the shoulders and trapped moisture at the base. Run samples at real production speed; bench tests can mislead. Compare reject rates, changeover time, and cost per bottle, not just quoted machine speed. There is no perfect fit. A slower, stable setup may outperform one that needs constant adjustment.
Set Placement Tolerance, Such as a ±1 mm Target
When choosing a water label machine, define placement tolerance before comparing speed or output. A target of ±1 mm means the label’s measured position should stay within one millimeter of the agreed reference point. Specify whether you are measuring the label’s top edge, side seam, or centerline. Otherwise, two suppliers may interpret the same target differently.
Test the target on the actual bottle, not only on a drawing. Bottle height, taper, surface moisture, and small variations in rotation can shift label position. Use a ruler or inspection gauge at several points across a production run, and record the results. Keep the bottle type, label roll, and line speed consistent during testing. Small shifts matter.
A ±1 mm target can be demanding, but it may not suit every package or inspection method. Confirm how the machine detects bottle position and adjusts label feed, then ask for repeatable trial results. Check samples from the start, middle, and end of a run. If readings vary, investigate the cause before tightening the specification. A very precise number looks reassuring; it is less useful when nobody agrees on how to measure it.
Assess Changeover Time, Label Waste, and Cost per 1,000 Bottles
A water label machine should be compared by total cost, not headline speed. Record changeover from the last good bottle on one run to the first good bottle on the next. Include guide adjustments, label roll changes, test bottles, and operator time. PMMI’s 2024 State of the Industry report identifies labor constraints and automation investment as ongoing packaging-sector concerns. That makes changeover time worth tracking, but the report does not provide a universal benchmark for every line. Small details matter. A machine that changes formats quickly on paper may still need repeated label-position adjustments.
Track waste by counting damaged labels and rejected bottles during each changeover. For example, a 2% label loss on a 1,000,000-bottle run equals 20,000 labels; use your actual roll price to value that waste. Then calculate cost per 1,000 bottles: labels used, labor, and changeover losses divided by accepted bottles, multiplied by 1,000. Compare the same bottle sizes and production volumes across machines. A useful trial records at least three changeovers, since one smooth run can mislead. That comparison is imperfect. Keep the raw counts, too: rounding can hide a costly pattern.